We assume the following is performed before proceeding.
If the server is pointing to example.com, a virtual host for api.example.com is required to be setup before we can proceed with this tutorial.
Considering you have a web app running on tomcat. Please check if the following is accessible and working.
http://api.example.com:8080/webapp
There are many benefits of using Apache in front of tomcat. This leaves tomcat from the burden of managing SSL and proxy.
sudo apt-get install apache2Apache Server is installed on default port 80. This should open the default apache page. http://api.example.com/
Let's encrypt lets you install free SSL certificate which can be renewed. In this article, we are going to install let's encrypt on apache and forward the requests to tomcat.
sudo apt-get update
sudo apt-get install software-properties-common
sudo add-apt-repository ppa:certbot/certbot
sudo apt-get update
sudo apt-get install python-certbot-apache

sudo certbot --apache
If you have already installed cerbot and gettign the following error
Client with the currently selected authenticator does not support any combination of challenges that will satisfy the CA.Upgrade cerbot with the following command.
sudo apt-get install --only-upgrade certbotFollow the instructions. Agree to terms.
You need to map the domain name to the IP on this server. Use the same domain name
for the SSL. For example, api.example.com
Remove the default SSL file provided by the Apache.
sudo rm /etc/apache2/sites-available/000-default-ssl.confSince we did not alter anything in apache. Certbot will generate the following conf file.
sudo nano /etc/apache2/sites-available/000-default-le-ssl.confWe will add forwarding to this file. You can place it below the line containing DocumentRoot
ServerAdmin webmaster@localhost
DocumentRoot /var/www/html

ProxyPreserveHost On

ProxyPass / http://127.0.0.1:8080/
ProxyPassReverse / http://127.0.0.1:8080/
DocumentRoot here is useless. All the forwarding will be done to tomcat.
Now enable the following modules before restarting apache server
sudo a2enmod proxy
sudo a2enmod rewrite
sudo a2enmod proxy_http
sudo service apache2 restart
If you have port 443 opened on your linux machine https://api.example.com/webapp will take to the desired webapp
If correctly configured, apache should restart properly and all requests sent to
https://api.example.com/webapp will be forward to
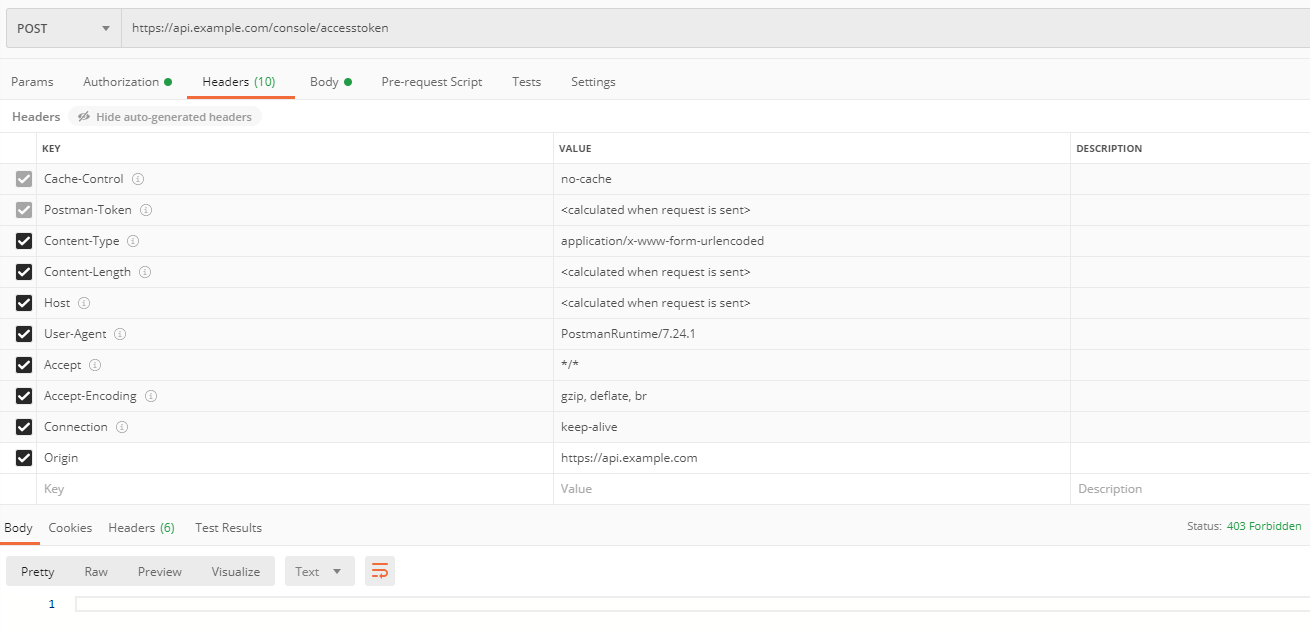
http://127.0.0.1:8080/webappNewer versions of tomcat check for the origin header. If the below request is made without the Origin header using any http client
it will be successful. But the origin header is used by tomcat to match it against the host name specified in server.xml
So our next task is to update the host name value in server.xml.

Does tomcat requires Origin header to work? NO. But if you carry a origin header it should match the host name
So a call from api.example.com with Origin header as 'api.example.com' (in case of a browser) will not work since <Host name="localhost">is the default value.
Update the host name in server.xml to match the domain name used in the virtual host of apache server.
You need to change the name="localhost" to name=api.example.com
<Host name="api.example.com"  appBase="webapps"
            unpackWARs="true" autoDeploy="true" deployXML="true">
Also update your connector tag in server.xml
<Connector port="8080" protocol="HTTP/1.1"
               connectionTimeout="20000"
               redirectPort="8443"
               scheme="https" secure="true" proxyName="api.example.com" proxyPort="443" />
The following attributes inform tomcat, it is being accessed via a reverse proxy with ssl.
scheme="https" secure="true" proxyName="api.example.com" proxyPort="443" If you do not perform the above step of adding proxy to Connector tag, every POST request will throw 403 error.
Also, care to close the 8080 port from public access so that the users cannot directly open the tomcat server.
http://api.example.com:8080/webapp
apachectl configtestThe above command helps you to test if everything is configured correctly with apache
If you get this error run the command given below
The error will tell you the file from /etc/letsencrypt/live but they are linked from /etc/letsencrypt/archive so changing permission for /etc/letsencrypt/live will not help
sudo chmod 0755 /etc/letsencrypt/archiveUpdates letsencrypt have done recently changing permissions on archive doesn't work. The following will result in Synatax OK from
sudo chmod -R 0755 /etc/letsencrypt/live
apachectl configtest